Monday, January 30, 2017

Squog Warrior 2: Bones 2 Figure

     This past week I worked on the second half of a unit of 10 Squogs to add to my old Poison Dart Frog Army.  I thought the Squogs would fit right in with the rest of the troops, as some sort of more tribal cousins.
      I started with the ones that came from the Bones 2 Kickstarter in the Swamp Things set, and ordered a couple more packs from Reaper to bring the total up to 10 figures.
     Last week I completed the first five Squogs, which were the version of the figure that is armed with a trident.
      I prepped these figures in the usual way; soaking them in a dish of water with a couple drops of dish-soap added, then giving them a light scrub with a soft toothbrush, and then rinsing and drying them.
     My plan was to do some conversions on two of the basic models to turn one into a standard bearer and another into a unit leader.  Last week when I did the trident-armed ones I converted one into the standard bearer; this time I did the leader conversion by cutting down one of the spears and reusing the spear blade to make a sword.  I did this by by gluing the spear blade directly to the figures hand so it looked like a short sword.  I also cut his right arm at the elbow and repositioned it so it would look like it was more naturally holding a sword. Lastly, I glued on a skull helmet that I had removed from an extra Mudcroak, Squog Shaman, figure I had.
    I then glued the 5 figures (including the converted leader one, to black-primed 1" fender washers with Aleene's Tacky glue, and then glued the washer-mounted figures to a 2 tongue depressors with a couple drops of the Elmer's glue under each washer.
     My plan was to try and make them look like this kind of Strawberry Poison Dart frog like I did with the last group:
   The converted leader figure can be seen on the far right.
      I began by giving all the figures a wash with heavily thinned Reaper "Brown Liner" using a wet brush.  When that was dry, I painted the bodies with Ceramcoat "Opaque Red". I then painted the shell armor with Americana "Bleached Sand". After that, I went back and painted their hands and feet with Americana "Dove Grey".
       Next, I painted the grass skirts with Duncan "Olive Green", and then painted the little diaper-like bottoms they're wearing with Crafter's Acrylic "Bright Yellow".  I then painted the back side of the shields, and the spears, with Americana "Sable Brown".  After that, I painted the teeth with Crafter's Acrylic "Light Antique White" and the skull helmet on the leader with Folk Art "Barn Wood".
      I then painted all the straps and ties with Americana "Terra Cotta", and then I painted the heads of the spears the armbands, the dagger fittings and the leader's sword  with the "Terra Cotta" as well. After that, I painted the pouch on his left hip with Americana Mississippi Mud".   I then went back and repainted the heads of the spears the armbands, the dagger fittings and the leader's sword with Ceramcoat "Bronze".  After everything had a while to dry, I then applied a wash using Citadel "Agrax Earthshade" wash using a wet brush.
     When the wash was dry, I painted the eyes with Accent "Real Umber", and then gave them Black pupils.  I then highlighted the skin with the base "Opaque Red", and the hands and feet with Crafter's Acrylic "Light Antique White".  I then painted the spots on their skin with the Black, and afterward painted their shields Black as well.  Next, I highlighted their teeth with White, and then used the White to accent some of the carved lines on each shield's face.  Then I highlighted the shell armor with the base "Bleached Sand".  After that, I highlighted their loin cloth with Crafter's Acrylic "Daffodil Yellow", and the grass skirt with Americana "Reindeer Moss Green". I then painted highlights on all the straps with Reaper MSP "Pumpkin Orange".   I moved to their spears next, highlighting the shafts with Americana "Khaki Tan", and the spear heads (and sword) with the base "Bronze".   Lastly, I highlighted their pouches, as well as the skull helmet, with Americana "Barn Wood", and then painted their integral bases with Ceramcoat "Walnut".
      I let the figures dry overnight and the next day I gave them a coat of Folk Art "Satin Varnish". When dry, I flocked the bases. Another overnight dry, and I sprayed them with Testor's Dullcote". When the Dullcote was dry, I went back and painted their eyes with Americana "DuraClear Gloss" varnish.

     And here's the whole unit of ten, including the five I did last week.  

   Coming up this week, I will be working on the last of the Bones 2 Squog figures: Mudcroak, Squog Shaman, to post next Monday.

Monday, January 23, 2017

Squog Warrior 1: Bones 2 Figure

     This past week I started working on a unit of 10 Squogs to add to my old Poison Dart Frog Army, which is made up mostly of Eureka Miniatures' Frog Warriors.  I thought the Squogs would fit right in with the rest of the troops, as some sort of more tribal cousins.
     I started with the ones that came from the Bones 2 Kickstarter in the Swamp Things set, and ordered a couple more packs from Reaper.
      I prepped these figures in the usual way; soaking it in a dish of water with a couple drops of dish-soap added, then giving them a light scrub with a soft toothbrush, and then rinsing and drying them.
My plan was to do some conversions on two of the basic models to turn one into a standard bearer and another into a unit leader.  I began with the trident-armed ones; and took one and removed it's weapon arm, and cut off the top of the trident.   I then drilled a hole n the cut end, and glued in a section of paperclip wire to make a pole for a standard to fly from.  I then re-glued the arm to the body so the standard pole sat vertically. (See center frog in the picture below)
    I then glued the 5 trident-armed style figures (including the converted standard bear one,  to black-primed 1" fender washers with Aleene's Tacky glue, and then glued the washer-mounted figures to a 2 tongue depressors with a couple drops of the Elmer's glue under each washer.
     My plan was to try and make them look like this kind of Strawberry Poison Dart frog:
     I forgot to take a picture before I started applying paint, so we'll get right into it.  I began by giving all the figures a wash with heavily thinned Reaper "Brown Liner" using a wet brush.  When that was dry, I painted the bodies with Ceramcoat "Opaque Red". I then painted the shell armor with Americana "Bleached Sand". After that, I went back and painted their hands and feet with Americana "Dove Grey".
     Next, I painted the grass skirts with Duncan "Olive Green", and then painted the little diaper-like bottoms they're wearing with Crafter's Acrylic "Bright Yellow".  I then painted the turtle shell shields with Accent "Mustard Seed", and the spears and standard pole with Americana "Sable Brown".  After that, I painted the teeth with Crafter's Acrylic "Light Antique White".
     I then painted all the straps and ties with Americana "Terra Cotta", and then painted the pouch on his left hip with Americana Mississippi Mud".  After that, I painted the heads of the tridents, the armbands, and the dagger fittings with Accent "Golden Harvest, and wen dry, I went back and repainted these areas with Ceramcoat "Bronze".  After everything had a while to dry, I then applied a wash using Citadel "Agrax Earthshade" wash using a wet brush.
     When the wash was dry, I painted the eyes with Accent "Real Umber", and then gave them Black pupils.  I then highlighted the skin with the base "Opaque Red", and the hands and feet with Crafter's Acrylic "Light Antique White".  I then painted the spots on their skin with Black.  Next, I highlighted their teeth with White, and then highlighted the shell armor with the base "Bleached Sand".  After that, I highlighted their loin cloth with Crafter's Acrylic "Daffodil Yellow", and the grass skirt with Americana "Reindeer Moss Green". I then drybrushed the shields with Apple Barrel "Apple Maple Syrup", and then painted highlights on all the straps wit Reaper MSP "Pumpkin Orange".   I moved to their trident next, highlighting the shaft with Americana "Khaki Tan", and the trident head with the base "Bronze".    Lastly, I highlighted their pouches with Americana "Barn Wood", and then painted their integral bases with Ceramcoat "Walnut".
      I let the figures dry overnight and the next day I gave them a coat of Folk Art "Satin Varnish". When dry, I flocked the bases. Another overnight dry, and I sprayed them with Testor's Dullcote". When the Dullcote was dry, I went back and painted their eyes with Americana "DuraClear Gloss" varnish.

     For their banner, I bought a stem of artificial flowers at the Dollar Tree and cut off one of the petals, and then poked two holes in it.  I then glued it onto the pole.
     I'm happy with how these fellows turned out.  Now I'm going to work on the next five of the second figure.

Monday, January 16, 2017

Imrijka, Iconic Inquisitor : Bones II Figure

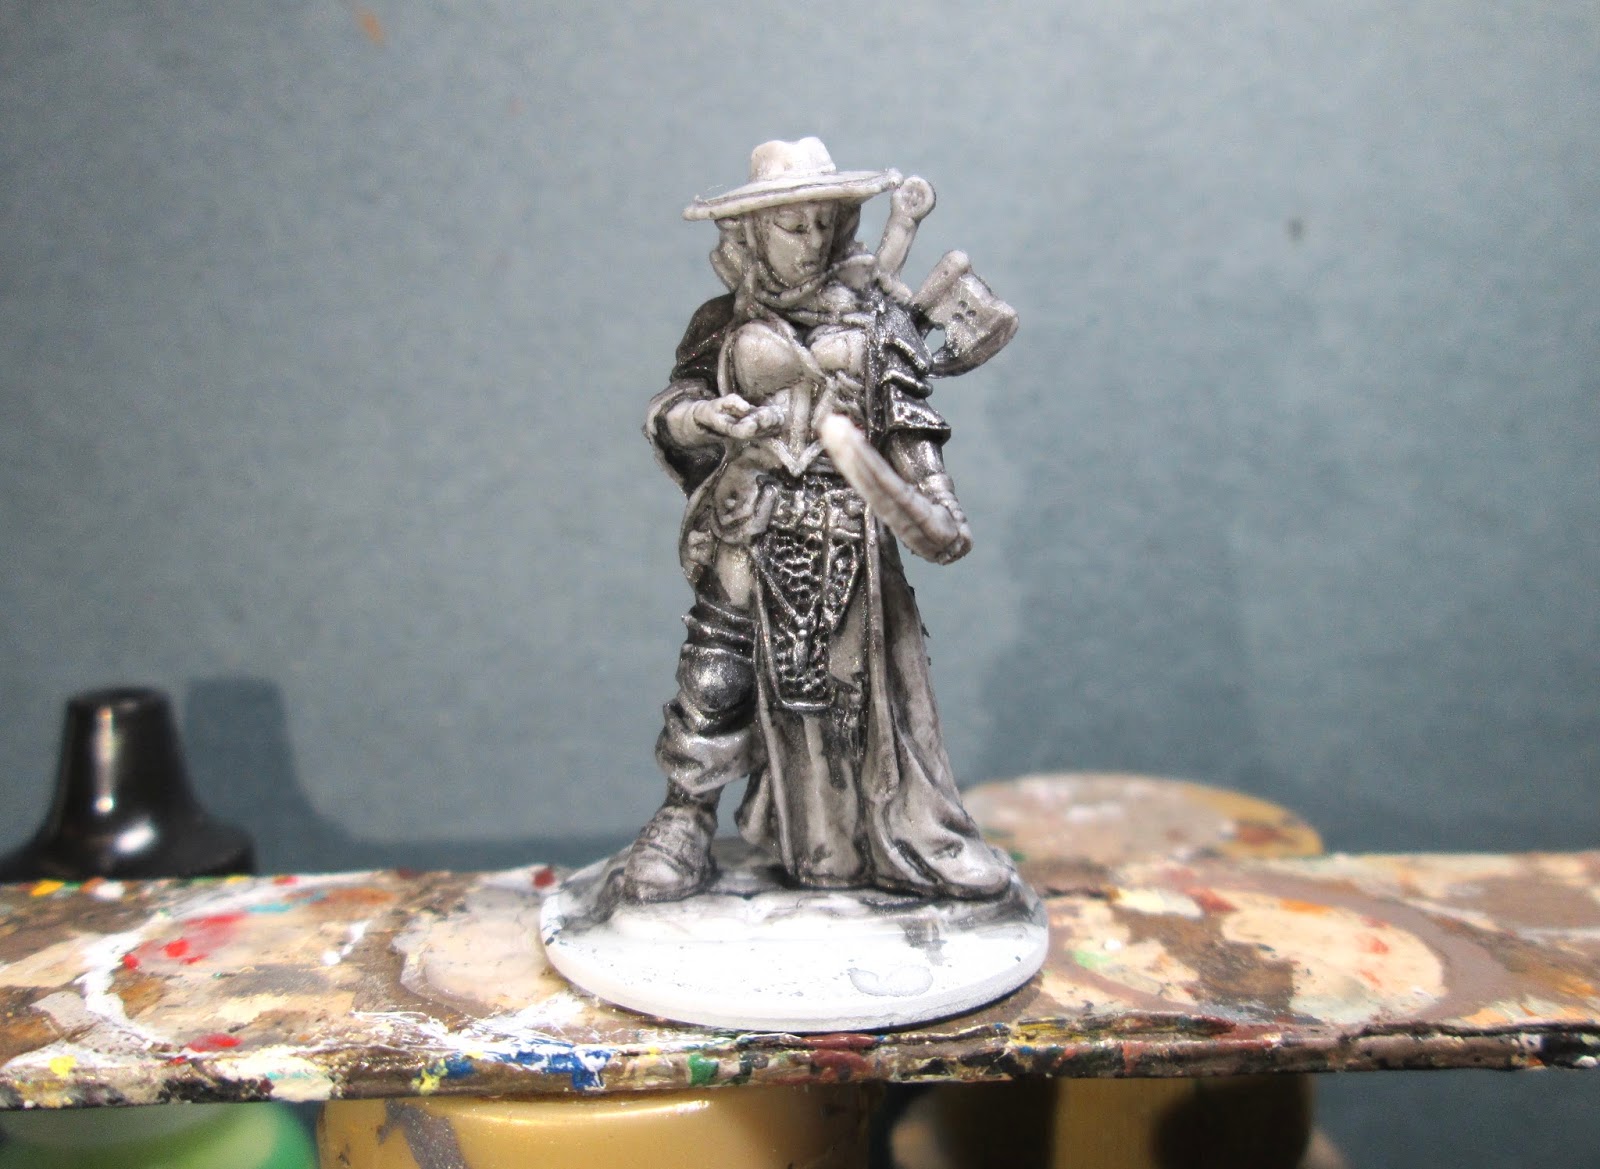
     This past week I painted up the Imrijka, Iconic Inquisitor, figure from the Bones II Pathfinder Heroes set.   I believe this figure is supposed to represent a half-orc character, but I chose to paint it up as a half-elf female instead.  So, the first thing I did was very carefully try to slice off the fangs. What I couldn't get off with a hobby knife due to the cramped area under her hat, I hoped to disguise with paint.
     I prepped the figure in the usual way; soaking it in a dish of water with a couple drops of dish-soap added, then giving it a light scrub with a soft toothbrush, and then rinsing and drying it.    I then glued the figure to a white-primed 1" fender washer with Aleene's Tacky glue, and then glued the washer-mounted figure to a tongue depressor with a couple drops of the Elmer's glue.  
       There was something about her outfit that read Old West Cowboy to me; so I decided I would go with that kind of earth-tone palette for this figure.
       I began painting by doing all the figure's armor with Black; then when the Black was dry, I drybrushed the armor with Folk Art Metallics "Gunmetal Grey".  I then passed over the armor with a lighter drybrush of Folk Art "Silver Sterling".
      Next, I painted her skin with Americana "Shading Flesh", and then painted her pants with Reaper MSP "Turkey Brown".  I then painted her bodice top with Americana "Bleached Sand", and then painted her loin cloth with Folk Art "Poppy Seed".  My next step was to paint her coat with Folk Art "Teddy Bear Brown".
     I then painted her boot, pouch, and some of her belts with Americana "Asphaltum", and then I painted the tassel hanging along her left leg with Crafter's Acrylic "Navy Blue".   Next, I painted her hair with Accent "Mustard Seed", and then did her hat with Americana "Mississippi Mud". After that I worked on her weaponry: painting her bow with Crafter's Acrylic "Cinnamon Brown", her sword's sheath with Accent "Real Umber",  her quiver with  "Sable Brown", and lastly, the top and bottom trim on her quiver and the the grip on her sword with Americana "Bittersweet Chocolate".  I then painted all reamining belts, straps, and cords with Americana "Terra Cotta". 
   Next, I painted the metal parts of the weapons with Americana "Zinc".  I also used this color to paint the arrow fletchings. The round clasp on her should, which I planned to make gold metal, I painted with the "Mustard Seed".  I then went back and repainted all the weapon parts I had painted with the "Zinc", (except the fletchings) this time using Folk Art Metallics "Gunmetal Grey".  I also used this color to paint any buckles I could see.  I then I repainted the shoulder clasp, this time using Ceramcoat "Bronze".    Then, after everything had a while to dry, I gave the entire figure a wash using Citadel "Agrax Earthshade" wash using a wet brush.
      I then painted her eyes and lips; and then highlighted all her skin with a mix of the "Shading Flesh" and some Crafter's Acrylic "Flesh".  After that, I highlighted her hair (and added eyebrows) with, first, Ceramcoat Maple Sugar Tan", and then, Apple Barrel "Lemon Chiffon".   I then highlighted her top with Crafter's Acrylic "Light Antique White".
     Next, I drybrushed her hat with Americana "Khaki Tan", and then did highlghts on her jacket with Americana "Sable Brown".  After that, I highlighted her loin cloth with a mix of the base "poppy Seed" and Folk Art "Gray Green", and then I highlighted her pants with a mix of the original "Turkey Brown" and some of the "Khaki Tan".  I then did her boot highlights with Americana "Mississippi Mud", and highlighted the tassleon her left leg with Ceramcoat "Denim Blue.  I then added yellow stripes to it with Reaper MSP "Golden Glow". 
     I now worked on her belts and pouch, as well as her bow, highlighting them with Nicole's "Brown". After that, I highlighted all the leather straps and the wrist guards with Reaper MSP Pumpkin Orange". Next, I worked on the metallics. I first worked on the parts I had painted with the "Gunmetal Grey", highlighting them with Folk Art "Silver Sterling".  I then did the clasp I had painted "Bronze", highlighting it with Ceramcoat 14K Gold.
     Lastly, I painted the base with White, and then glued some dried clear crackle paint "ice" to it. 
     When everything had overnight to dry, I gave the figure a coat of Ceramcoat "Matte Varnish" early the next morning.  That afternoon I "snowed" the base with a mix of Citadel "Vahallan Blizzard" textured paint, and regular White paint.   The next day I sprayed the figure with Testor's Dullcote. After the Dullcote was dry, I hit the ice with a little Americana "DuraClear Gloss" varnish.


     I'm really happy with this figure.  I think the "Western" look came across well; and I'm particularly pleased with how her face turned out.  I have to say with me faces are a good deal of luck rather than skill.  I'm not good at painting those tiny details, but sometimes, like with this figure, my squinting stabs with paint turn out to be in just the right places. :)

Thursday, January 12, 2017

Dollar Tree Paint Rack

     I had mentioned back in my after-Christmas post, that one of the things I got in my Christmas stocking was a small make-up rack from the local Dollar Tree store.  Well, I recently set it up on my painting desk, and it worked so well at holding my Reaper, and other dropper-bottle style, paints, that I went out this week and got another.  I thought I'd share them with you, as they seem like a pretty good deal for paint storage.
       Each rack holds 16 paints, and they are made of a pretty sturdy clear plastic.
 

Monday, January 9, 2017

Garrick the Bold, aka Sir Justin Forscale: A Frostgrave Conversion

     As those of you who have taken part in any of the Reaper Bones Kickstarters know, their favorite figure to use in photos to show the approximate scale of large figures compared to a normal human, is their Garrick the Bold figure.  Since the figure is always shown to compare sizes, but isn't included with what was being offered in the photo, the figure is always listed as "just in the photo for scale", and so his new name came about: Sir Justin Forscale.
    Because the figure had never actually been part of a Kickstarter, I never had had one to paint; until this past Christmas when I asked Mrs Claus to get me one, since coincidently I needed a knight figure for a new Frostgrave warband I was assembling.
I prepped the figure in the usual way; soaking it in a dish of water with a couple drops of dish-soap added, then giving it a light scrub with a soft toothbrush, and then rinsing and drying it.   Then, since I planned to use the figure for Frostgrave, I wanted to make him look a little more dressed for winter.  So, I dug through my bits box and found an old Chaos warrior cape.  With a little trimming on Garrick's shoulder armor, I was able to make the cape fit nicely.  I then sprayed the cape with flat white spray paint, and super glued it onto the figure's shoulders.  I then glued the figure to a white-primed 1" fender washer with Aleene's Tacky glue, and then glued the washer-mounted figure to a tongue depressor with a couple drops of the Elmer's glue.

    I decided I wanted to decorate his base a little before I started painting, so I glued on a bit of cork with the Tacky glue.  Then I began painting by doing all the figure's armor with Black; then when the Black was dry, I drybrushed the armor with Folk Art Metallics "Gunmetal Grey".  I then passed over the armor with a lighter drybrush of Folk Art "Silver Sterling".
   I then painted his tabard with Americana "Wedgewood Blue", and his cape and shield with Americana "True Blue".  After that,  I painted the lining of his cape with Apple Barrel "Burnt Sienna", and then did the borders of his tabard, shield, and cape with Reaper MSP "Pumpkin Orange".
       Next,  I gave the lining of his cape a wash with Citadel "Agrax Earthshade" wash using a wet brush.  I then painted the decorations on his shield, tabard, and cape with Reaper MSP "Golden Glow". I also used this color to do some freehand runic words on his shield.  I then painted his sword with Americana "Zinc", his belt with Crafter's Acrylic "Cinnamon Brown", and the cork rock on his base with Black.
     I started the highlighting at this point by drybrushing his cape lining with American "Shading Flesh".  Next, I did the highlights on his tabard with Reaper MSP Bones "Tropical Blue", and the highlights on his cape with a mix of Crafter's Acrylic "Tropical Blue", and the base "True Blue".   I highlighted the decorations I had done earlier with the "Golden Glow", using Apple Barrel "Lemon Chiffon".  Then I highlighted all the edging with a mix of the base "Pumpkin Orange", and some of the "Golden Glow".
    I then painted the sword with the "Gunmetal Grey", and then did highlights on the sword with the "Silver Sterling".  While I had the "Silver Sterling" out, I touched up the highlighting on his armor. Next, I painted his belt buckle, the cape clips, and the disc on his sword with Ceramcoat "Bronze".  I then went back and highlighted these with Ceramcoat "14K Gold".
     Lastly, I drybrushed the cork, with first Folk Art "Medium Grey", followed by Crafter's Acrylic "Storm Cloud Grey", and lastly Americana "Dove Grey".  I finished by painting the rest of base White.
     When everything had overnight to dry, I gave the figure a coat of Ceramcoat "Matte Varnish" early the next morning.  That afternoon I "snowed" the base with a mix of Citadel "Vahallan Blizzard" textured paint, and regular White paint.   The next day I sprayed the figure with Testor's Dullcote.

     I am very happy with how this knight turned out.  I really enjoyed painting him as he was a nice simple old-school style figure without a lot of extra bits and bobs sculpted all over him.

Monday, January 2, 2017

Barrow Rats: Bones II Figures

     Happy 2017, everybody!  Over the holiday week, in between Christmas and New Year's activities, I painted up the Barrow Rats figures from the Bones II Core Set.
     I prepped these figures in the usual way; soaking it in a dish of water with a couple drops of dish-soap added, then giving them a light scrub with a soft toothbrush, and then rinsing and drying them.  I then glued the figures to black-primed 1" fender washers with Aleene's Tacky glue, and then glued the washer-mounted figures to a tongue depressor with a couple drops of the Elmer's glue under each washer.
     I began by giving the figures a wash with heavily thinned Reaper "Grey Liner" using a wet brush.
      I hadn't really paid attentions to these figures as I was prepping them, and while I knew they were covered in pustules, I didn't realize that they were mostly hairless.  So, I started off painting them all Black, assuming I was just going to drybrush the fur.  Then, as I was brushing on the Black, it quickly became evident that there was no hair texture sculpted all over them.  Ooops!  So I reset, and started again by repainting what I thought was the skin with Folk Art "Almond Parfait".
 After I repainted both rats with the "Almond Parfait",  and let them dry awhile;  I gave them both a wash with Citadel "Nuln Oil" wash using a wet brush.
 Next, I repainted some of the splotchy hair areas with Black, and then highlighted the Black with a drybrush of Americana "Neutral Grey".   Next, I painted the pustules with Americana "Burgundy Wine", and then went back and added a little highlight dot to most of the bigger pustules with Crafter's Acrylic "Tutti Frutti".
    I then took some Iron Wind Metals "Red" Ink, and applied light washes with the ink, using a wet brush, anywhere where there was a concentration of the pustules.   After that, when the ink was dry, I highlighted the skin with Folk Art "Milkshake".  Next, I painted the teeth with Accent "Golden Harvest", and the claws with Folk Art "Gray Green".  I painted the eyes with Black, and then went over them again with a bit of thinned Crafter's Acrylic "Storm Cloud Grey".   Lastly, I painted the bases with the "Neutral Grey".

     Even though I'm really happy with how this pair turned out,  I have to say that they're probably two of the most disgusting figures I've ever painted. :)